Kitchen design that starts with how you live and ends with the last detail

The kitchen is used more than any other room in the house, which makes it the least forgiving of mistakes: a drawer that catches on the oven handle, a walkway around the island that’s too tight, a worktop that ends exactly where you need to set down a hot pan. At SELÈ STUDIO, kitchen design starts with how you cook, host and begin your morning, and only then moves on to stone, wood and light.
We design kitchens for apartments and private homes, as part of a whole-home project. A few details recur in our work: a stone island that reads as a single block, wood joinery that runs to the ceiling and disappears into the wall, and hidden lighting that turns a niche or a shelf into a small moment of light. Clean, precise and right.
Planning a kitchen with an island: work zones, seating and clearances
Before choosing a stone, decide what the island is for. It can be the cooking zone, the prep surface, a washing station, a breakfast table, or several of these at once. Each role changes the plan: gas, power and drainage points in the floor, how cooking fumes are extracted, the depth of the worktop and what goes underneath it.
Work zones, not just a triangle
The “work triangle” (hob, sink and fridge within easy reach of each other) is still a useful tool, but in an open-plan kitchen it is better to think in zones: storage and fridge, prep and washing, cooking, serving. The aim is for the natural route, from fridge to sink to prep surface to hob, to flow without cutting across whoever sits at the island or the path to the living room. Leave clear worktop on both sides of the hob and the sink; without it, there is nowhere to put anything down.
Seating at the island
As a common rule of thumb, each seat needs about 60 cm of width, and the worktop overhangs the cabinets by about 25–30 cm to leave room for knees. At a standard working height of around 90 cm, bar stools with a seat height of about 65 cm fit well. If the hob is on the island, avoid seating directly opposite it: steam, splashes and hot pans don’t mix with morning coffee.
Clearances around the island
The walkway between the island and the cabinet fronts is the measurement people most often get wrong. As a common starting point, about 100–120 cm lets you open the dishwasher and drawers and pass behind the person cooking. With two cooks, or when the walkway is also a route through the house, aim for the upper end. The final dimension depends on the room, the appliances and the way doors open, which is why we check it on the plan and in a render, not by eye.
A hob on the island? Plan the extraction first
A hood suspended over the island, one built into the ceiling, or a downdraft that rises from the worktop: each affects the ceiling, the joinery and the duct route. The decision is made at the planning stage, before the ceiling is closed and before the stone is ordered.
Joinery to the ceiling and storage you don’t see
Cabinetry that rises to the ceiling does two things: it adds a whole extra row of storage, and it removes the top ledge that collects dust and always looks slightly unfinished. With continuous fronts and fine gaps between them, the joinery wall reads as one surface of wood rather than a collection of doors. That is the basis of the calm look of a modern kitchen.
Where to hide what shouldn’t be seen:
- Appliances inside the wall: fridge, freezer and ovens in tall units behind wood fronts. A tall unit that hides appliances needs ventilation according to the manufacturer’s instructions, so grilles or gaps are planned into its top or base from the start.
- A pantry with internal drawers: instead of deep shelves where things vanish at the back.
- Wide drawers below: for pots and pans, easier to use than a door and shelf.
- A hidden coffee corner: a niche with doors that slide back into the sides and power points inside, so the worktop stays clear.
An oak kitchen changes character with the tone. Light oak brings in light and calm and sits well with warm-gray stone. Dark oak creates depth and quiet, especially beside greige fronts and a light stone worktop. We cover the decisions that determine joinery quality, from front to hinge, in our guide to planning joinery with a designer.
Worktop and splashback: what to choose, and where
The worktop is the surface you touch most, and each material has a different character:
- Natural stone (marble, quartzite): veining that can’t be copied. Sensitivity to acids and stains varies from stone to stone, so it is tested and sealing and care are planned.
- Engineered quartz: even and stain-resistant, but more sensitive to direct heat, so hot pans go on a trivet.
- Porcelain: resistant to heat and scratches, and available in large slabs. Needs professional fabrication at corners and cut-outs.
For a stone island to read as a single block, it needs a cutting plan: where the stone wraps down the sides to the floor, the slabs are laid out so the veining continues from the top onto the side. That is why it is worth choosing the actual slabs, not just the stone name. For the splashback, the same stone as the worktop creates a quiet continuity, and one large slab instead of tiles means fewer grout lines to clean. The full comparison is in our guide to choosing kitchen stone and worktops.
Integrated lighting and backlit niches
A good kitchen is lit in layers: general light for the room, direct task light on the worktops with no shadow from the person standing there, and ambient light such as a backlit niche or a strip under the wall units. A few details make the difference:
- The LED strip is recessed into a profile and hidden from the line of sight, so you see the light, not its source.
- A warm tone around 2700–3000K complements wood and stone. A high CRI (90 and above) keeps the true color of the stone and the food.
- Separate circuits and dimming let the room shift from working light to evening light.
Order matters: lighting is planned before the joinery drawings are final, because the grooves for profiles and the space for LED drivers are cut inside the cabinets. More on layering light at home.
Hardware and taps: the details you touch every day
You feel these details in your hands every day, so they are worth choosing together with the joinery rather than at the end: they change the sizes of fronts, drawers and cut-outs in the worktop.
- Opening: a recessed handle or a finger-pull channel keeps the front clean. Push-to-open works well on wall units, less so on heavy drawers. If you like a handle you can grip, a slim, delicate one will suit.
- Runners and hinges: full extension, soft close and the right load rating. This is what wears first, so it is not where to save.
- Taps: a finish that matches the other metals in the house (brushed steel, matte black or bronze), a pull-out head, a spout height that suits the depth of the sink, and space for a filtered-water tap if needed.
- Sink: undermounted beneath the worktop, so you can wipe straight into it, or integrated in the same stone, with no rim, reading as a continuation of the worktop.
How kitchen planning works with us
- Getting to know you: who cooks, how much, what needs to be within reach and what bothers you in the kitchen today.
- Measuring and recording: walls, windows, and the existing water, drainage, gas and power points.
- Layout and options: island position, work zones and clearances, as part of planning the whole space when the kitchen opens onto the living room.
- Materials and render: stone, wood, metals and light, with a render of the kitchen before it’s built so you see the decisions together.
- Working drawings: joinery details, electrical and lighting, hardware and appliances, at a level of detail tradespeople can build from.
- Suppliers and build: working with the carpenter, the stone supplier and the electrician, with renovation guidance until the kitchen is finished.
The timeline depends on the scope, on lead times for joinery and stone, and on where the renovation stands. When the kitchen is part of a whole home, it is planned together with the design of the whole home.
Kitchens from our work
From the build: alongside the renders is a photograph of a built kitchen, with joinery to the ceiling and ventilation openings for the hidden appliances.
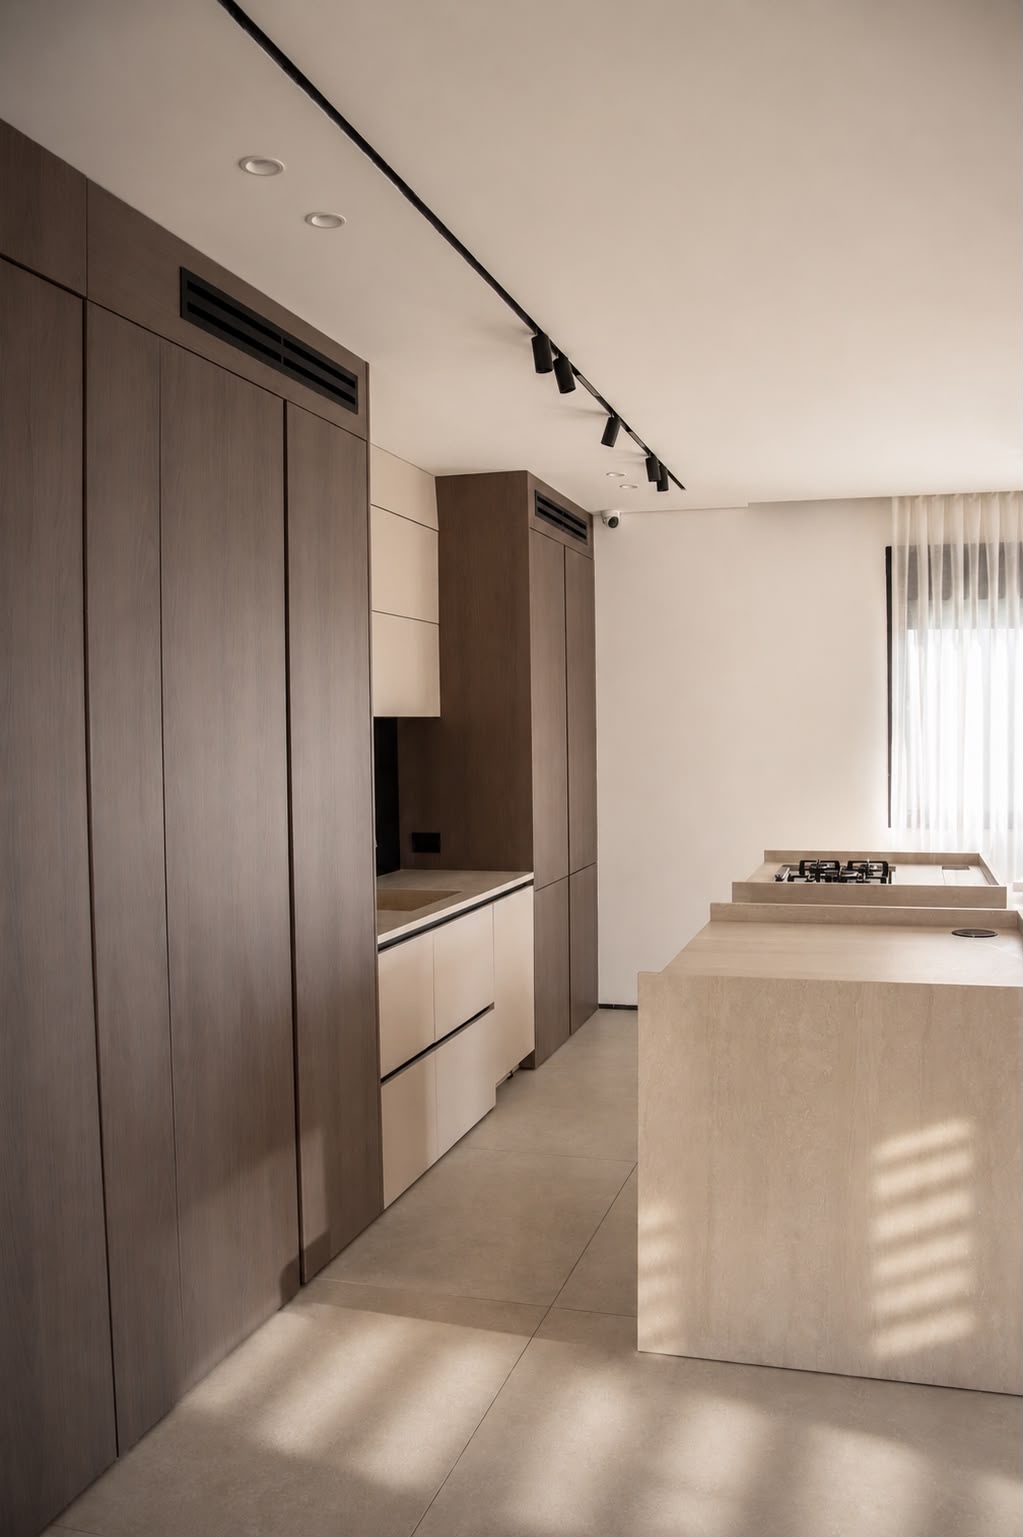
BuiltIt is not presented here as the built version of any visualization on this site. 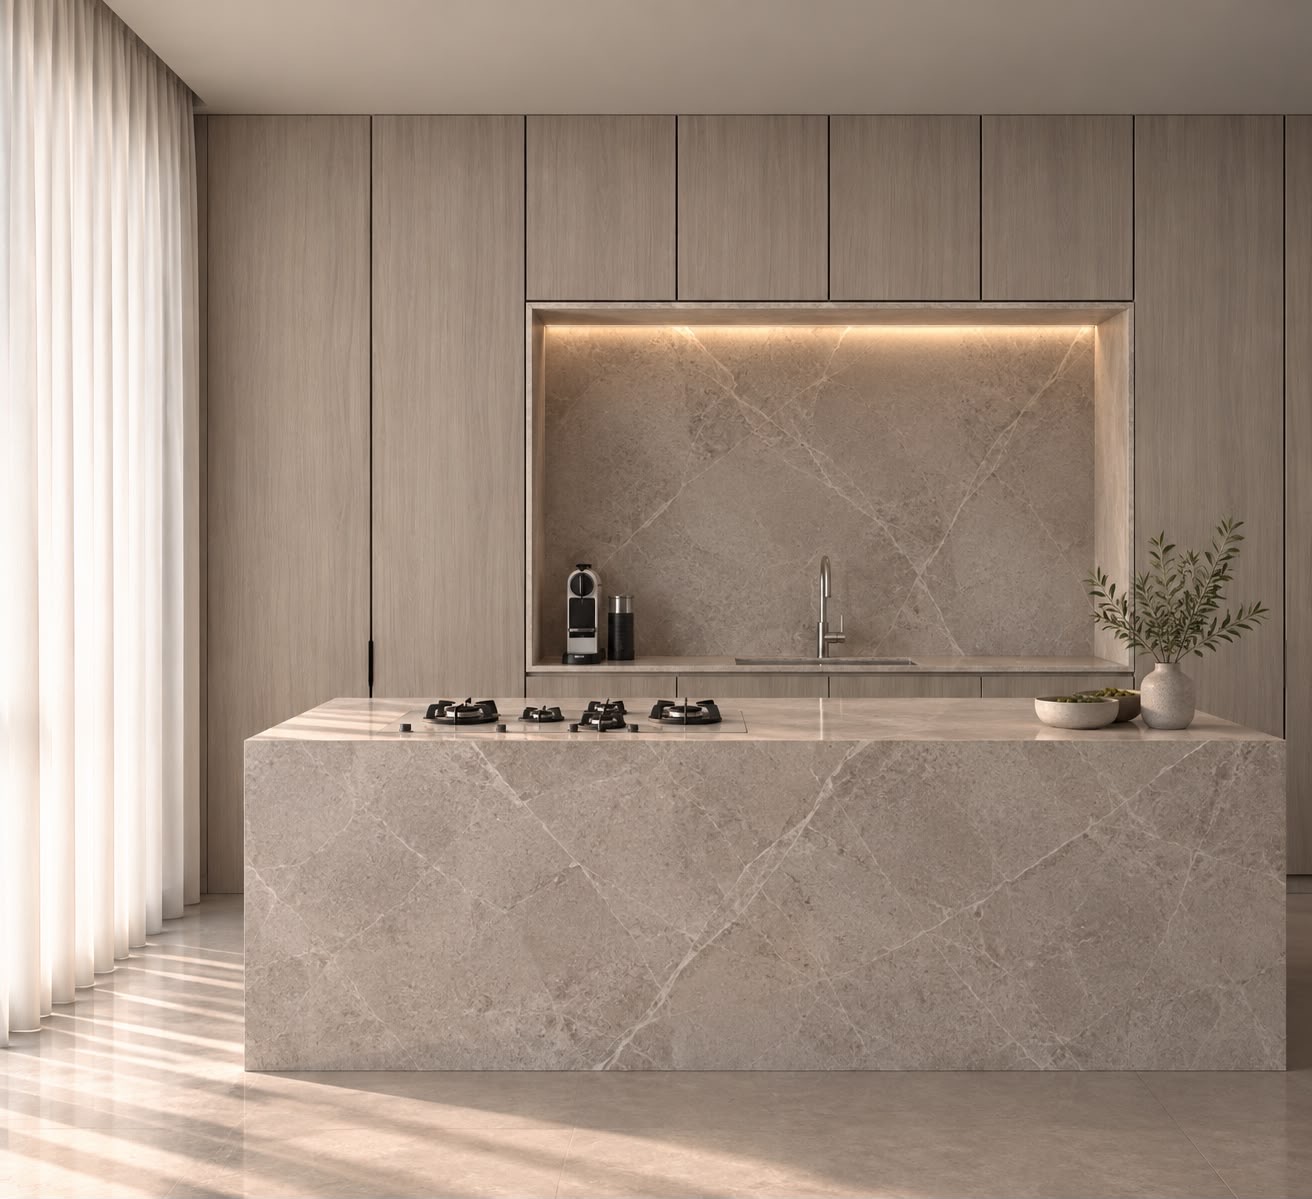
Render 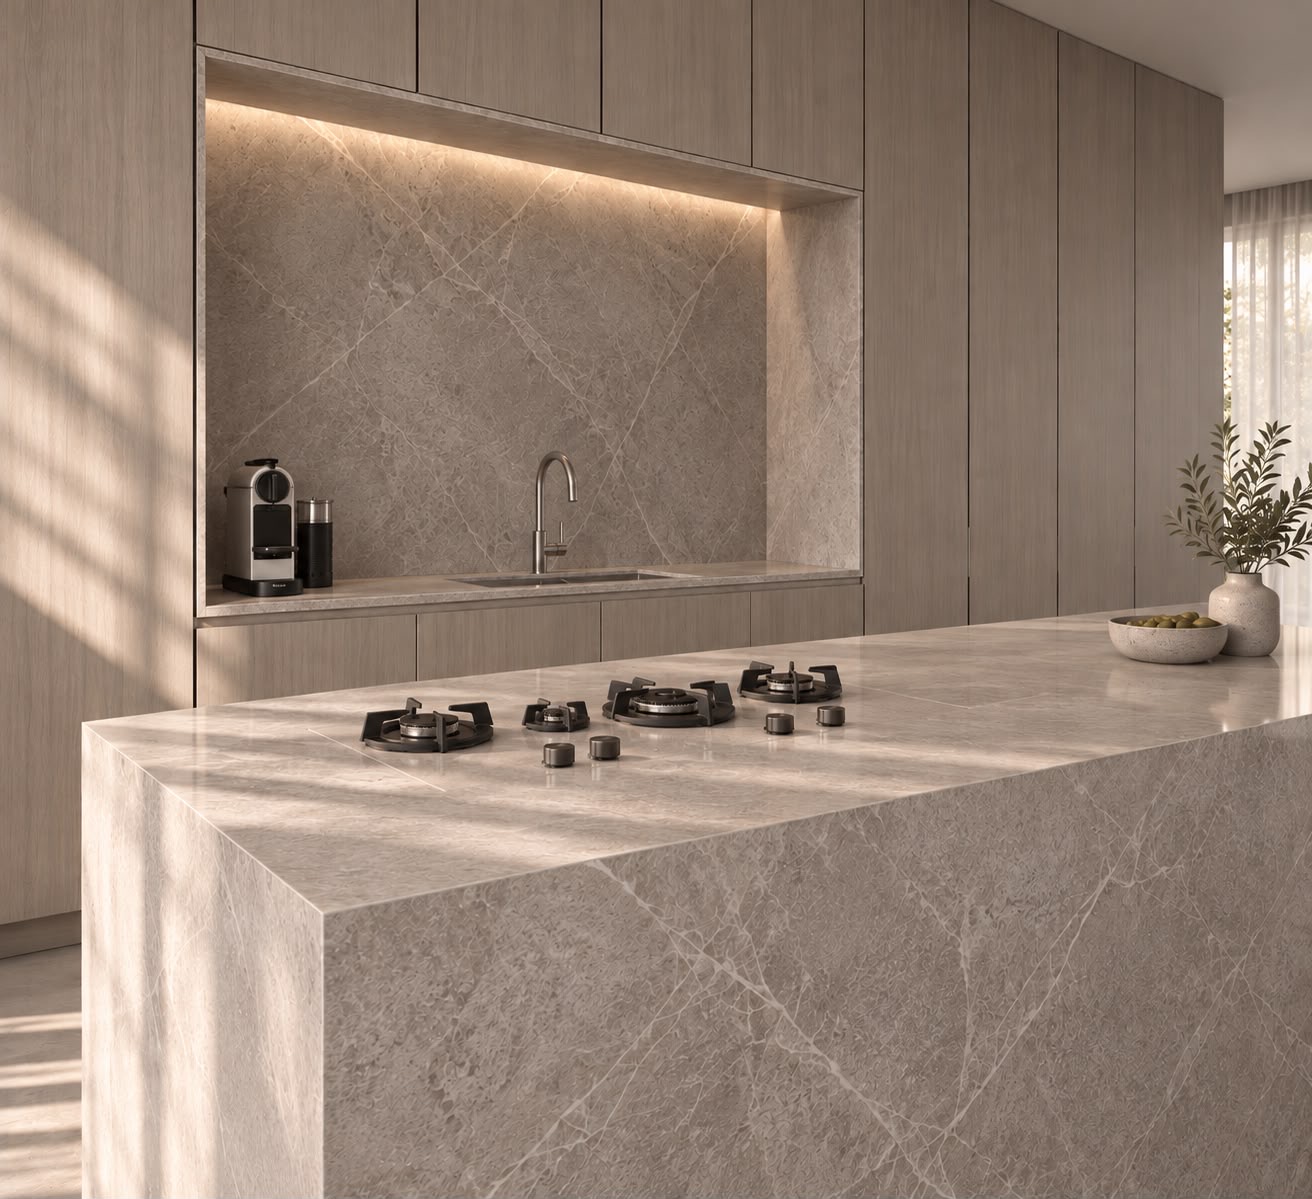
Render 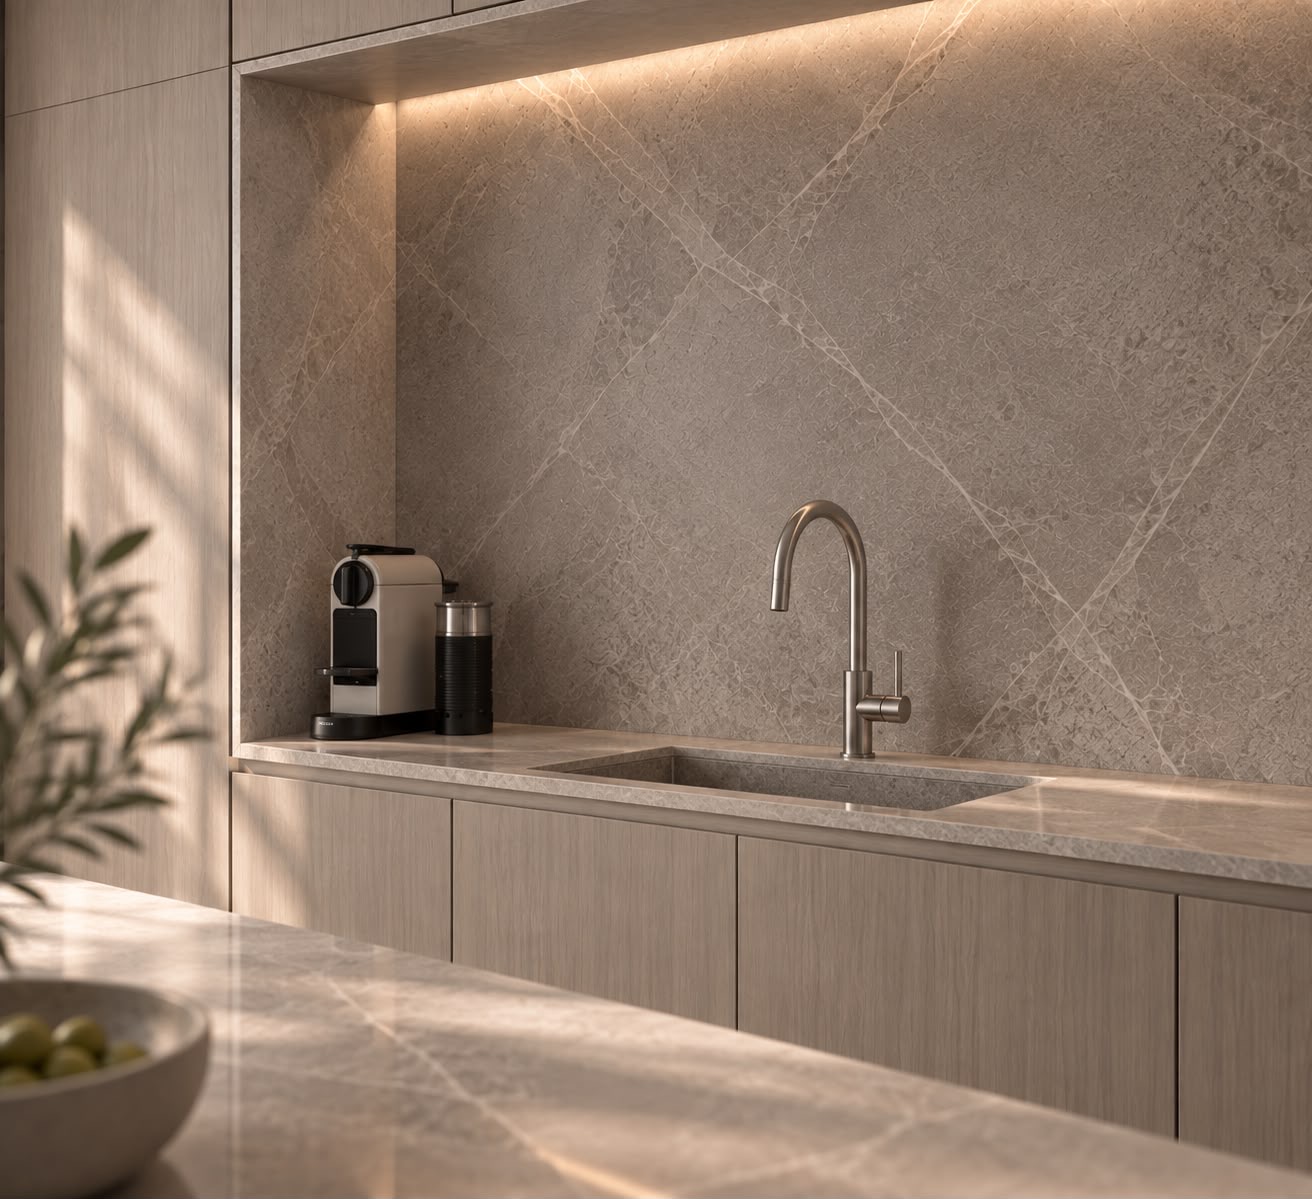
Render 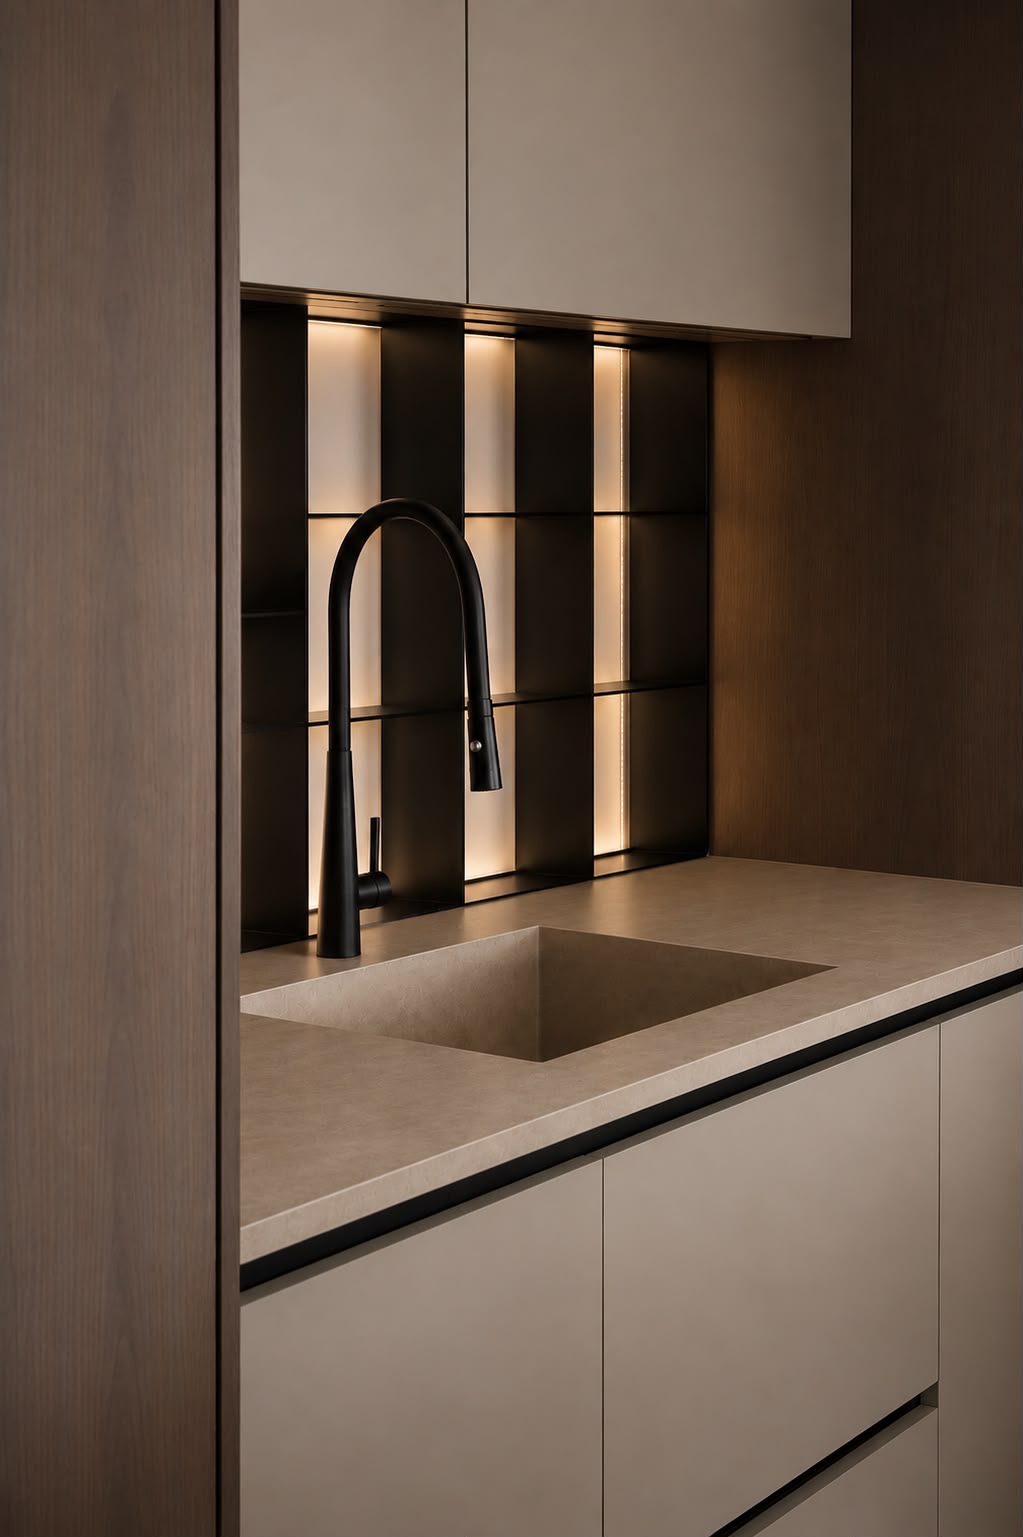
Render


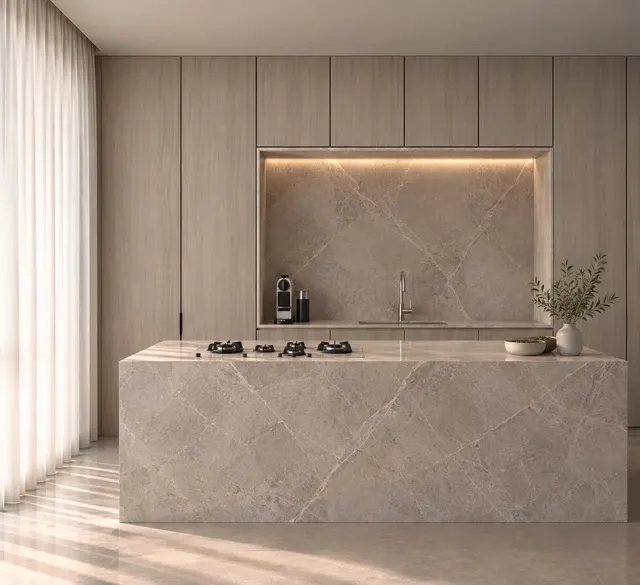
Stone-island kitchen with light oak
A monolithic stone island with hob, a floor-to-ceiling joinery wall and a backlit stone niche for the coffee corner.
Private residence · Render
Dark-oak kitchen
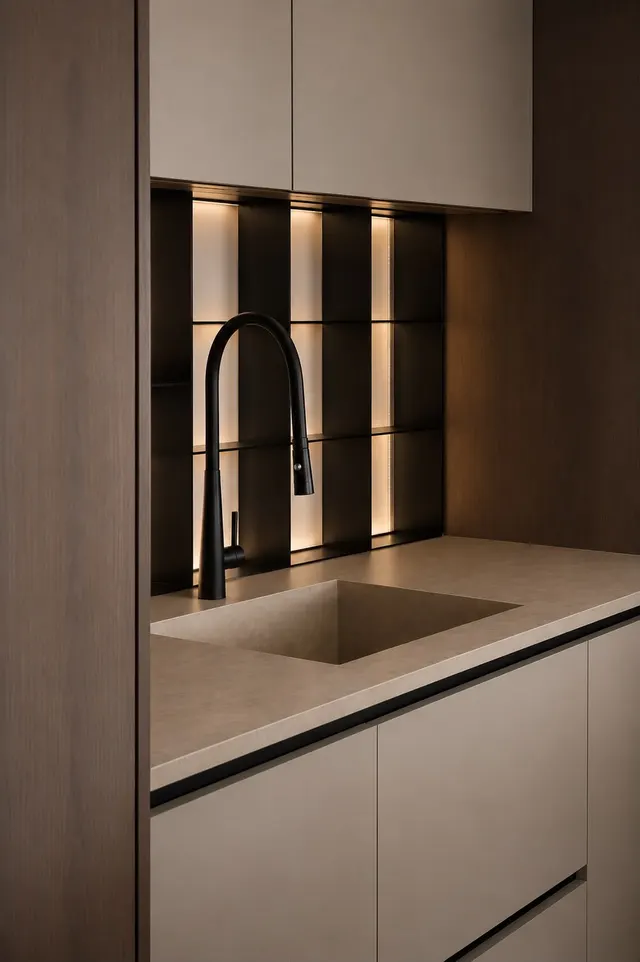
Dark oak, greige fronts, an integrated stone sink and backlit metal shelving.
Private residence · Render
Kitchen design FAQ
How much space do you need for a kitchen island?
Beyond the island itself, you need comfortable circulation around it. As a common starting point, allow about 100–120 cm between the island and the cabinet fronts, more with two cooks or when the walkway is a route through the house. Where space is short, a peninsula or a longer run along the wall works better than a cramped island.
Hob or sink on the island?
It depends on how you cook. A hob on the island lets you cook facing your guests, but needs extraction above or within the island and distance from the seating. A sink on the island keeps dirty dishes in the middle of the room, but frees the back wall for joinery and a niche. Decide before drainage, gas and power are planned.
What should you prepare for the first meeting about the kitchen?
A plan of the apartment or house, if you have one, and photos of the current kitchen. A list of the appliances that stay and the ones you want to add, what bothers you today and what matters to keep, and inspiration images you liked. It also helps to know what stage the renovation is at and which decisions have already been made.
When should you bring in a designer for a kitchen renovation?
Before the joinery is ordered and before water, drainage and power points are fixed. Once the points are in the wall, the island and sink positions are almost fixed, and every change means demolition, time and extra cost. Starting early lets the island, lighting and joinery be planned as one system.
How is a designer’s plan different from the kitchen company’s?
A kitchen company usually plans its own product: cabinets, fronts and hardware. An interior designer plans the kitchen as part of the house: its link to the living room, the lighting, materials that recur in other rooms and the infrastructure points. Her drawings aren’t tied to one supplier, so you can get quotes on them from several.
Planning a new kitchen or a renovation?
Tell us about the space, what works in it today and what doesn’t. We’ll get back to you to arrange an introductory meeting.